top of page
Time Configuration
Configuration
1. Navigate to the SharePoint Page
-
Open the SharePoint page where you want to add the web part.
-
Click on the Edit Page option.
2. Add the Web Part
-
Click on the + (Add a Web Part) button.
-
Select the Time web part and click Add.
-
Complete the App registration by filling in the required details.


3. Wait for webpart to complete the setup

4. After it loads, Publish the page.
5. It Is ready to use.
6. Select Time zone and enter location

7. Navigate to the Administration Menu and follow the below steps
Add Annual Cycles(if not already added)

Add/Edit Locations

Add Departments

Add Teams

Add Leave Types

Add Holidays

Holidays can be imported for a location using the bulk upload option using an Excel template provided.
Add Associates data
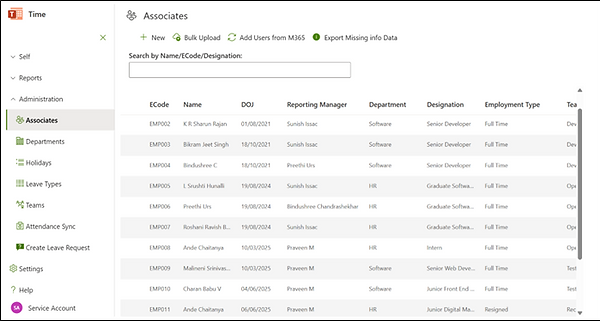
Import Associate data from Excel

bottom of page